Wednesday, October 17, 2012

3 Ideas Using a Glass Charger


Check out my new blog Ivory Bloom!


Lots of FREE printables, creative ideas and an art community.


Inger and I came up with some creative ways to use UL's glass chargers.
My favorite is the lace stencil.


Layered Frame


Custom Cake Stand
The great thing about this design and color... 
you can use it for birthdays, Christmas, 4th of July and Valentines Day!

Great Pumpkin Decorating

Check out my new blog Ivory Bloom!


Lots of FREE printables, creative ideas and an art community.


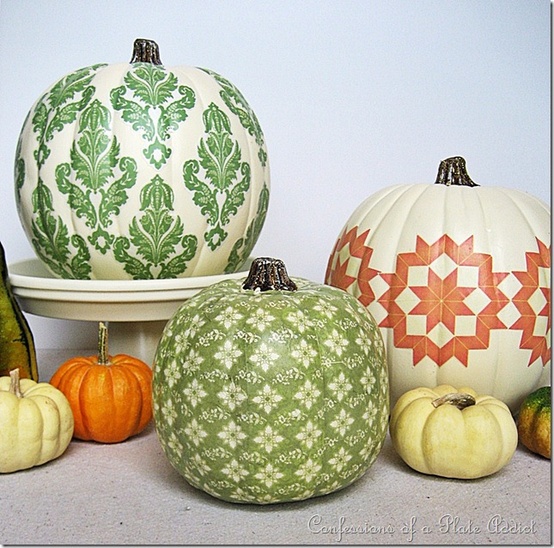
These are some of my favorite pumpkin decorating ideas this year...


Chevron pumpkin from Feeling Lovesome blog


Decoupage pumpkins from Confessions of a Plate Addict


Creative ideas from Alis Burke


Henna pumpkins from Think Crafts


Who said pumpkins have to be orange?

Tuesday, October 16, 2012

Gratitude

A powerful thing...


Gratitude is a feeling of appreciation and thankfulness for blessings or benefits we have received. As we cultivate a grateful attitude, we are more likely to be happy and spiritually strong. We should regularly express our gratitude to God for the blessings He gives us and to others for the kind acts they do for us.

Tuesday, October 2, 2012

Garage Sale to Gorgeous

Check out my new blog Ivory Bloom!


Lots of FREE printables, creative ideas and an art community.


My friend Inger called me one Saturday morning with some exciting news. 
She was on a walk with her husband and there was a garage sale that had some great furniture. 
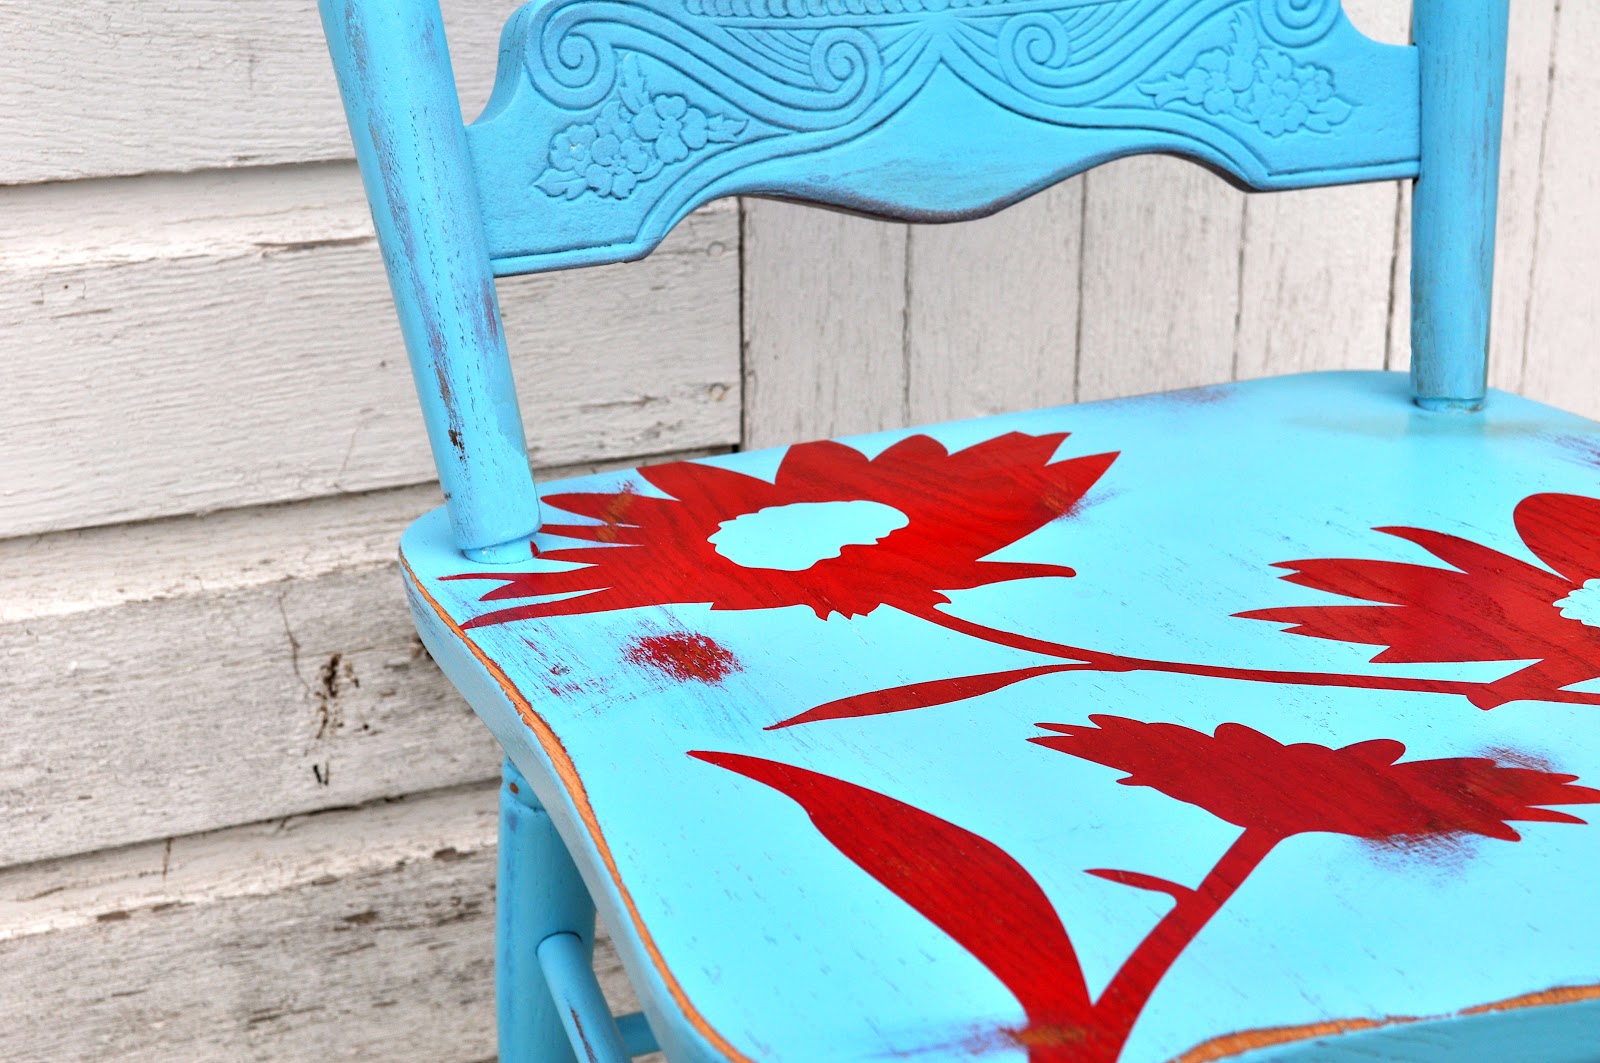
She snagged this chair for me {only $10} and three cute chairs for her.


First I sanded the chair and cleaned thoroughly.


Then spray painted the entire chair red.
{I like to use Krylon® Indoor/Outdoor gloss or semi-gloss
or 2X Painter's Touch gloss or semi-gloss.}

Let the paint cure in the shade.


I applied a large vinyl embellishment that I got from Uppercase Living.


Then, spray painted the entire chair blue.
Peeled off the vinyl when the blue paint was still tacky.
The beautiful red color underneath was revealed.

Then I sanded and distressed the chair.
I usually use a semi-gloss paint, but this chair got a satin finish, on accident! 
With a satin finish, I couldn't use the dark walnut stain I liked to use to give the furniture a vintage look. With the satin finish, there is NO time to wipe-off the stain once it's applied. 
When this happens, the furniture just looks dirty.
I wasn't sure how to deal with this... then I found furniture wax. It worked great! 

I finished off the project with 3 coats of clear furniture wax.


Including more tips on using vinyl lettering as a stencil.


The chair has a nice smooth finish and the wax will protect the paint.


Monday, September 24, 2012

Custom Christmas Pajamas

Check out my new blog Ivory Bloom!


Lots of FREE printables, creative ideas and an art community.


With only a few supplies you can be the best Christmas Elf ever!
My three boys LOVE Mario Cart, so after I found these cute Mario pajama bottoms, 
I needed to make matching tops. I used white t-shirts to make the custom tops.
I got this idea from Inger Erickson.


Another great Christmas Idea


Thursday, September 20, 2012

Upcycled Door


Check out my new blog Ivory Bloom!


Lots of FREE printables, creative ideas and an art community.


I found this great door in Ennis, Montana.
We drove by an antique shop and this door was outside, leaning against the wall. It was really, really dirty, but I LOVED it at first sight. Previously it was the door to the chicken coup. My sweet husband tied it to the top of our Tahoe with little resistance... I'm sure he was afraid to ask what I was planning on doing with an old door!

With a little TLC, lots of soap, sand paper, polyacrylic clear coat and new chicken wire, it looks great!


Monday, September 17, 2012

Spooky Jars

Check out my new blog Ivory Bloom!


Lots of FREE printables, creative ideas and an art community.


Great Project for Kids!

Supplies:
Glass Jar {use goo gone to remove any sticky left on the jar by labels}
Acrylic Craft Paint {any brand will do}
Foam Brush 
White Glue {Elmers or Mod Podge}
Vinyl Letters or Embellishments

Step One: Mix glue and paint {a little goes a long way}
Step Two: Paint the inside of the jar using a foam brush
Step Three: Apply vinyl
Step Four: Burnish vinyl and remove tape at an angle

For the lantern look - use wire to wrap around mouth of jar and make a hanger
Use a battery operated tea lights to add glow to your lantern at night.


You might also like: